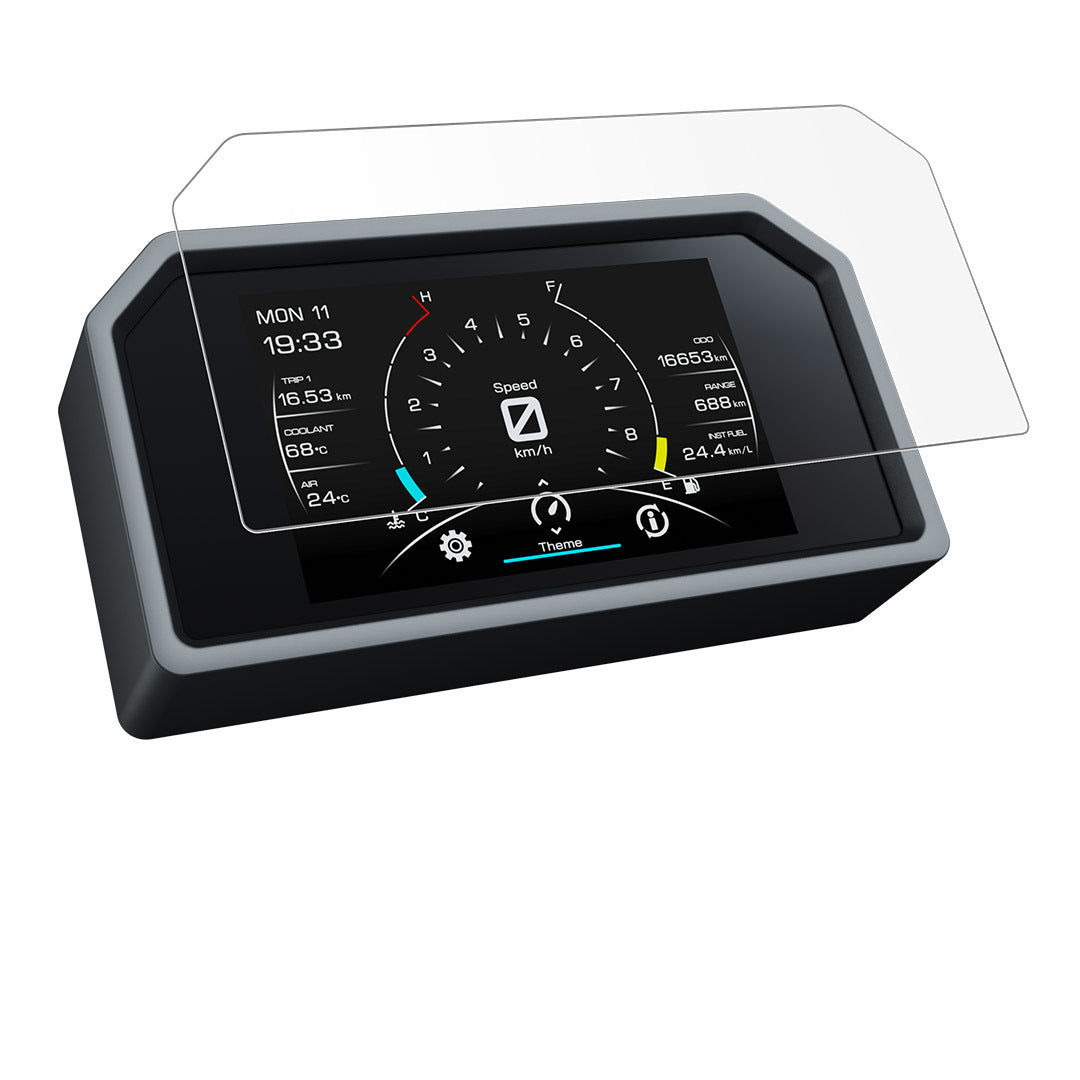
Yamaha T-Max 560 & Tracer 9 GT+ Dashboard Screen Protector.
Rated 4.36 out of 5 based on 7 customer ratings
(8 customer reviews)
$31.00
Protect your Yamaha T-Max 560 & Tracer 9 GT dashboard with our premium screen protector
1 in stock
Category: Part & Accessory
- Warning: Undefined array key "title" in /var/www/html/wp-content/themes/flatsome/woocommerce/single-product/tabs/tabs.php on line 58
- Description
This kit protects the instrument cluster/dashboard of specific Yamaha motorcycles, such as TMAX Tech Max 2022+, Tracer 9 GT 2023+, and Niken GT 2023+. It’s made from high-quality anti-scratch material, available in Ultra-Clear or Anti-Glare finishes. The kit includes a squeegee, polishing cloth, dust removal strip, and instruction sheet for easy installation.
Reviews (8)
8 reviews for Yamaha T-Max 560 & Tracer 9 GT+ Dashboard Screen Protector.
Add a review Cancel reply
Related products
Rated 4.50 out of 5
$125.00
Body, Fairing & Fender
Rated 4.43 out of 5
$52.00
Consumables
Rated 4.50 out of 5
$25.00
Rated 4.63 out of 5
$120.00
Exhaust System
Rated 4.48 out of 5
$680.00
Chemical & Fluids
Rated 4.33 out of 5
$21.00
Care & Maintenance
Rated 4.35 out of 5
$14.00
Handlebar & Control
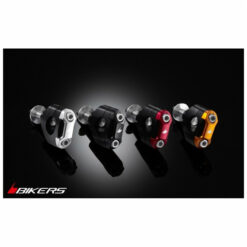
Bikers Bar Clamp Set (use with Bikers ‘FATBAR, 28.6 mm.) for Honda MSX125
Rated 4.25 out of 5
$115.00

Cheryl Tan –
I was skeptical about spending money on a dashboard screen protector, but I’m so glad I took the plunge! The Anti-Glare finish is a game-changer for me – it’s reduced glare significantly and made it easier to read my gauges at night. The kit itself is well-packaged and easy to install, with clear instructions. I’ve had this on my Tracer 9 GT for a few weeks now, and it still looks brand new.
Roderick Tan –
I was a bit skeptical at first, but the Ultra-Clear finish is surprisingly good! My Tracer 9 GT’s dashboard looks crystal clear now. The kit also includes a squeegee and polishing cloth, which are super helpful.
Amanda Leong –
What’s the best way to make this dashboard screen protector even better? I love how it’s protected my Yamaha TMAX Tech Max’s dash, but I wish they’d offer different sizes or custom options for riders with unique bike setups. Also, have you guys considered adding a UV protection feature? Just wondering… Overall, I’m super happy with the product and would recommend it to friends.
Dee Lee –
Thank you so much for your feedback, Amanda! We’re thrilled that our dashboard screen protector has been a great fit for your Yamaha TMAX Tech Max. Regarding your suggestions, we appreciate the idea of offering different sizes or custom options to cater to riders with unique bike setups. This is something we’ll definitely consider in our future product development. As for UV protection, we actually do offer a UV-resistant material option on some of our products, but it seems we haven’t implemented this feature yet for this specific screen protector. We’ll take your feedback into account and see what we can do to improve our offerings. Thanks again for the great review and recommendation!
Evelyn Lee –
I’m absolutely thrilled with this dashboard screen protector! The installation was a breeze, and the anti-scratch material is top-notch. My TMAX Tech Max looks brand new again.
Herman Tan –
I’m not sure what I’d do without this dashboard screen protector! It’s been a lifesaver for me – the anti-scratch material has saved my dash from getting scratched and scuffed during daily commutes. The Ultra-Clear finish is perfect, and the squeegee and polishing cloth have come in handy when cleaning up spills. One thing I wish they’d include is a little warning about not using harsh chemicals to clean it… but that’s just a minor quibble.
Ling Wong –
I’m absolutely thrilled with this dashboard screen protector! The installation was a breeze, and the Ultra-Clear finish is perfect for my Yamaha TMAX Tech Max. The anti-scratch material has held up wonderfully to daily use, and I love that it comes with a squeegee and polishing cloth for easy maintenance. My only minor complaint is that the dust removal strip could be a bit longer, but overall, this product has exceeded my expectations.
Diana Wong –
I’m not entirely satisfied with the performance of the Anti-Glare finish. It seems to reduce the clarity a bit, but overall, it’s still an excellent product. The price is very reasonable for the quality you get.
Anonymous –
What’s the best way to apply this screen protector without bubbles or air pockets? I’d love some tips on making it easier to install.
Jacki –
Thank you for your question! To ensure a bubble-free and air-pocket-free installation, we recommend the following tips: First, make sure to clean the dashboard thoroughly before applying the screen protector. This will help remove any dirt or oils that might interfere with the adhesive. Next, use the provided squeegee to slowly and smoothly apply the screen protector, starting from one corner and working your way outward. Be gentle and avoid applying too much pressure, as this can cause air pockets to form. If you do encounter a bubble or air pocket, don’t worry! Simply use the polishing cloth to gently push it outwards towards the edge of the screen, where it will naturally pop out. Finally, take your time and work methodically, rather than trying to rush through the installation process. With these tips, you should be able to achieve a smooth and bubble-free finish.